Camp Brimacombe Crafts: Make Your Own Reusable Bag
This month is Plastic Free July – a campaign with millions of participants around the world who take the challenge and choose to refuse single-use plastics. As an outdoor facility that relies on Mother Nature season after season, Brimacombe recognizes the importance of protecting the environment and its fragile ecosystems. We thought this campaign presented the perfect opportunity to show our Camp Brimacombe campers different ways to be innovative, less wasteful and discuss the many ways in which we can be more environmentally-friendly, not just this month, but throughout the year!
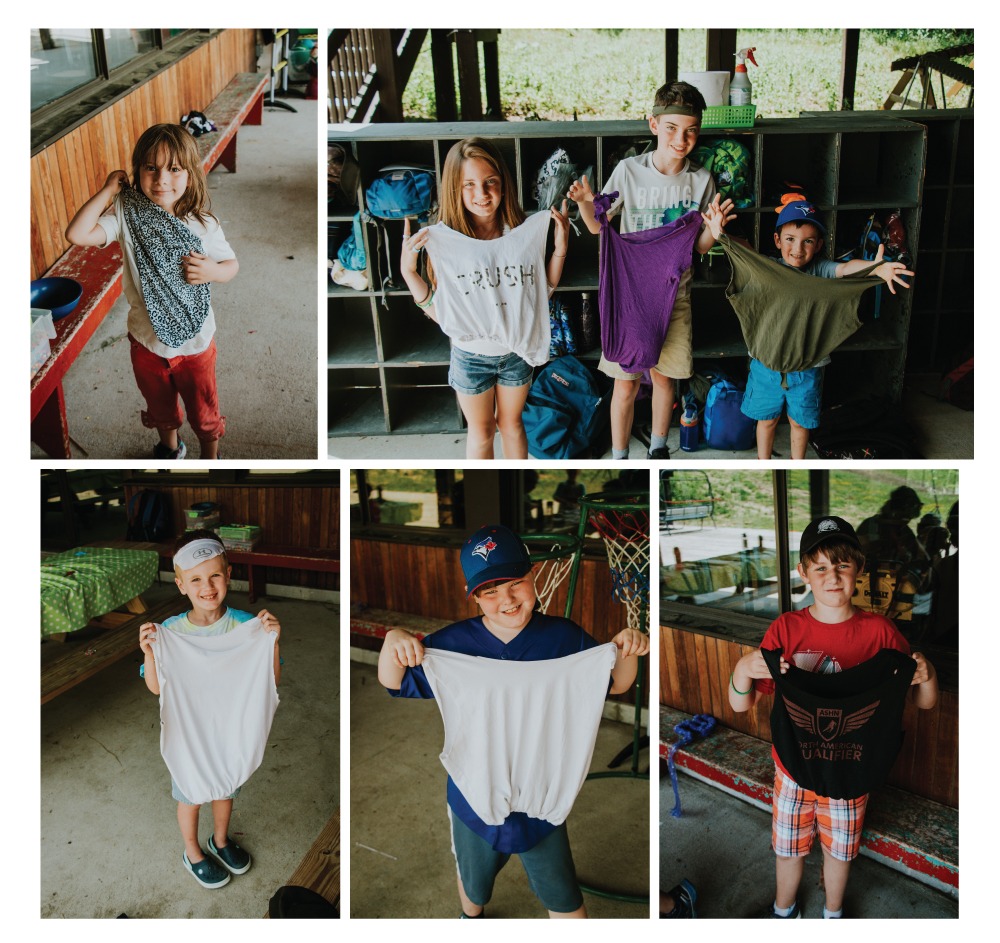
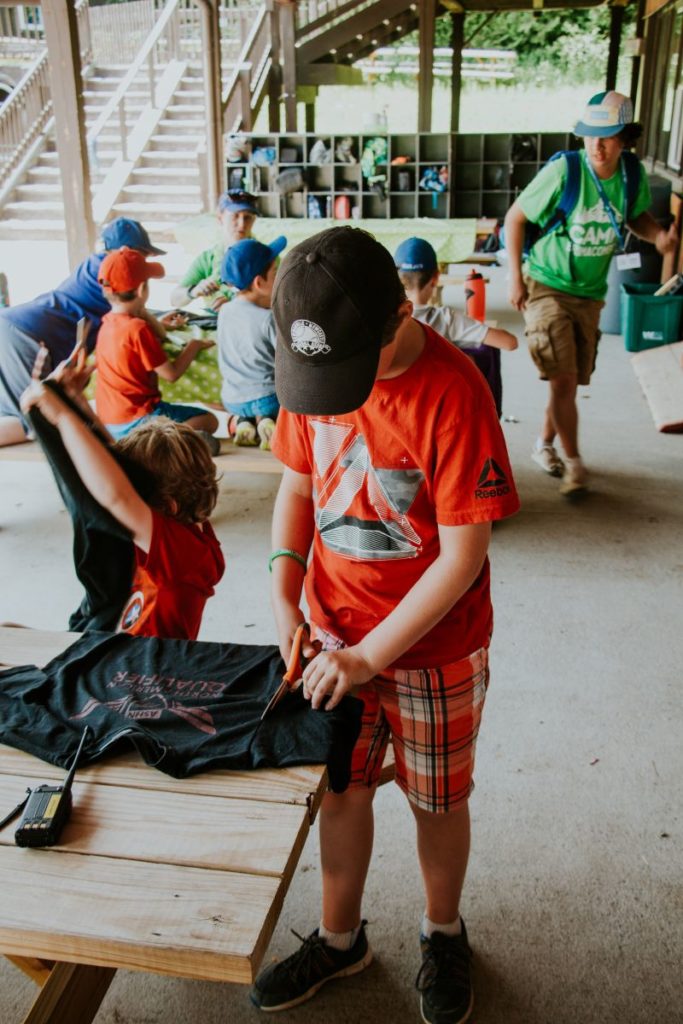
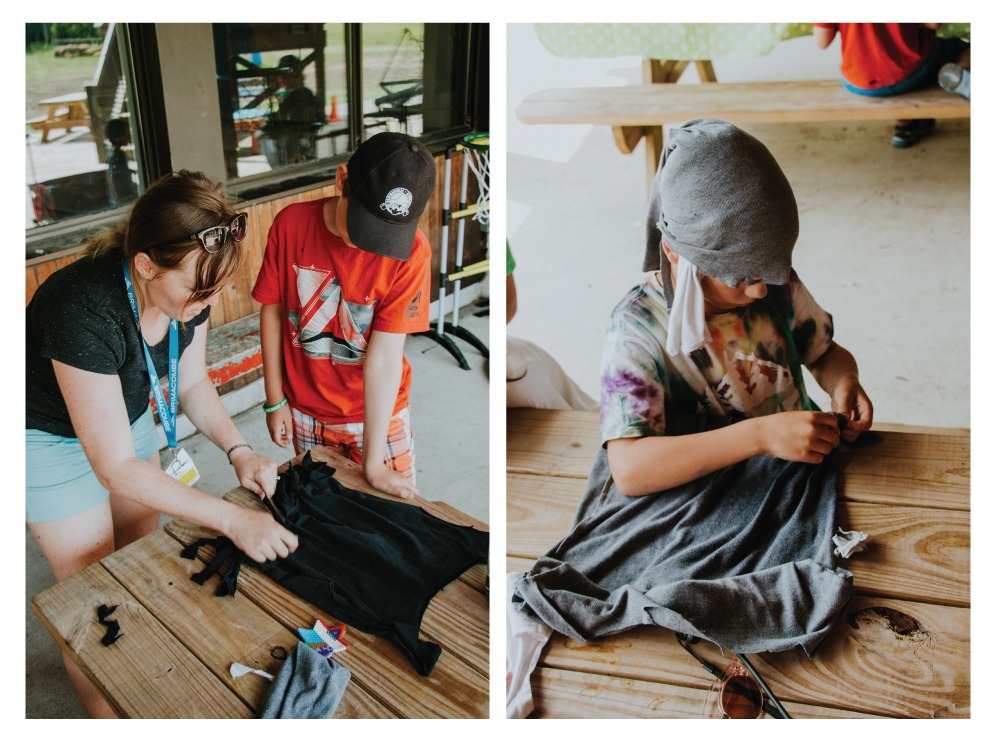
This week at Camp Brimacombe we showed our campers how to reuse an old t-shirt to make a their very own reusable bag!
Follow the step-by-step instructions below (with help from our campers) so that you can make your own at home!
HOW TO MAKE YOUR OWN REUSABLE T-SHIRT BAG
SUPPLIES:
- Old t-shirt (The thicker the fabric, the sturdier the bag)
- Sharp scissors, preferably fabric scissors
- Washable marker (optional)
DIRECTIONS:
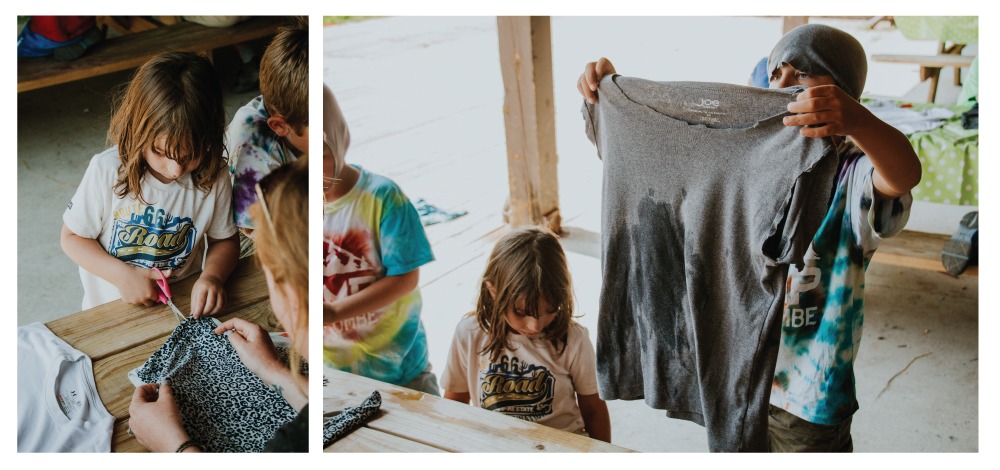
Step 1: Cut the sleeves off – this will make the handles of your bag. We followed the seam of the sleeve to make sure we got the best cut on our shirt!
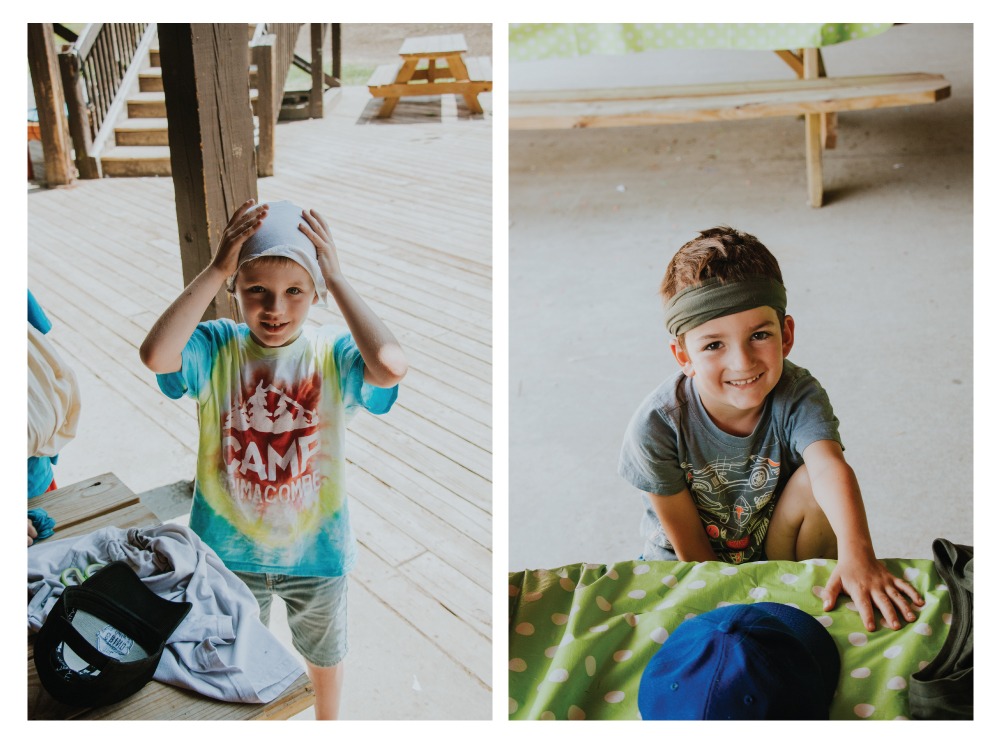
BONUS: You can use the sleeves to make a cool headband!
Step 2: Cut the neckline area – just like in step 1, we followed the seam of the neckline to trace our cut. You can also turn the shirt inside out and trace the outline of a bowl before cutting. We used both methods and our campers recommend free-hand cutting because it makes a slightly more oval shape instead of a perfectly round one.
Step 3: Determine how deep you want the bag to be – if you haven’t already turned your t-shirt inside out, do that now. Determine where you want the bottom of the bag to be and trace a line across. Keep in mind that depending on the fabric used, your tote is likely to stretch and become longer when it’s filled!
Step 4: Cut fringe – grab your scissors and cut slits from the bottom of the shirt up to the line marking the bottom of our bag about 3/4 to 1 inch apart. We cut both the front and back layers together because they need to match up for the next step.

Step 5: Tie Fringe – okay, this next step is going to sound really complicated, but it’s NOT, we promise! Take the first pair of fringes and tie it into a knot, then tie two more pairs. Then, lift your bag. You’ll see that although the pairs are pulling the bag together, there’s a hole between each pair. This next step will close those holes.
Grab one strand from the middle set and tie it in a knot with one of the strands on the left set. Then take the other strand from the middle set and tie it in a knot with one of the strands on the right set.
Once everything is tied, turn your bag inside out to cover the knots, then you’re all set! You now have yourself a brand new, homemade reusable t-shirt bag!